REST? REST API?
REST는 HTTP를 기반으로 웹에서 데이터를 다루는 방식을 규정한 아키텍처이고 이 방식으로 설계된 API를 REST API라고 한다. REST는 데이터를 처리하는 방식을 URL로 정의하기 때문에 직관적으로 이해하기 쉽다는 특징이 있다.
REST API 설계 원칙
REST API는 자원(resource), 행위(verb), 표현(respresentations)의 3가지 요소로 구성된다. URI(Uniform Resource Identifier)로 자원을 명시하고 HTTP 메서드를 통해 행위를 정의한다. 바로 여기서 REST의 중요한 원칙 두 가지를 설명할 수 있다.
1. URI는 자원을 표현하는 데 집중한다.
리소스를 식별할 수 있는 이름은 동사보다는 명사를 사용한다. 행위에 대한 표현은 삼간다.
잘못된 예
GET /getSports/1

올바른 예
GET /sports/1
2. 행위는 HTTP 요청 메서드를 이용한다.
리소스 생성이나 삭제와 같은 행위는 HTTP 요청 메서드를 사용하여 표현한다. 주로 5가지 메서드(GET, POST, PUT, PATCH, DELETE)를 사용해 CRUD를 구현한다.
잘못된 예
DELETE /sports/delete/1

올바른 예
DELETE /sports/1
HTTP 요청 메서드
- GET: 데이터 조회(취득)
- POST: 데이터 생성
- PUT: 데이터 전체 수정
- PATCH: 데이터 일부 수정
- DELETE: 데이터 삭제
REST API 명명
URI는 복수형을 사용한다.
// Bad
DELETE /sport/1

// good
DELETE /sports/1
필터링, 검색 및 정렬은 계층화하지 않는다.
-
필터링(filtering)
// Bad
/movies/name/{name}

// good
/movies?name={name}
-
검색(searching)
// Bad /movies/search/{query} // good /movies?q={query} -
정렬(sorting)
// Bad
/movies/orderBy/{name}

// good
/movies?order={name}
HTTP 상태 코드
2XX(성공)
| 상태 코드 | 설명 |
|---|---|
| 200 | 작업 요청 성공(OK) |
| 201 | 요청 성공 및 리소스 생성(Create) |
| 204 | 내용 없음 - 요청 성공 및 응답에 추가할 내용이 없음(No Content) |
3XX(리디렉션)
| 상태 코드 | 설명 |
|---|---|
| 301 | 요청한 리소스 URL이 영구적으로 변경(Moved Permanently) |
| 302 | 요청한 리소스 URI이 변경되었으므로 이후에 동일한 URI 사용 가능(Found) |
| 304 | 리소스가 변경되지 않아 동일한 캐시 버전 사용 가능(Not Modified) |
4XX(클라이언트 오류)
| 상태 코드 | 설명 |
|---|---|
| 400 | 요청 구문 오류(Bad Request) |
| 401 | 인증 실패로 인한 요청 실패(Unauthorized) |
| 403 | 권한 부여 실패로 인한 요청 실패(Forbidden) |
| 404 | 요청한 리소스를 찾을 수 없음(Not Found) |
| 405 | 서버가 요청된 메서드를 지원하지 않음(Method Not Allowed) |
5XX(서버 오류)
| 상태 코드 | 설명 |
|---|---|
| 500 | 내부 서버 오류 (Internal Server Error) |
| 503 | 서버는 작동하지만 리소스를 전달할 수 없음 (Service Unavailable) |
| 504 | 프록시 서버가 적시에 응답을 수신하지 않았음 (Gateway Timeout) |
REST API 실습
JSON 서버 설치
실습한 폴더를 생성하고 아래 명령어로 JSON Server를 설치해 준다. JSON 파일로 가상 REST API 서버를 구축할 수 있게 해주는 툴이다.
$ yarn add json-server
루트 폴더 내 .json 파일도 하나 생성해 준다.
// db.json
{
  "todos": [
    {
      "id": 1,
      "content": "Eating",
      "completed": true
    },
    {
      "id": 2,
      "content": "Studying",
      "completed": false
    },
    {
      "id": 3,
      "content": "Breathing",
      "completed": true
    }
  ]
}
GET
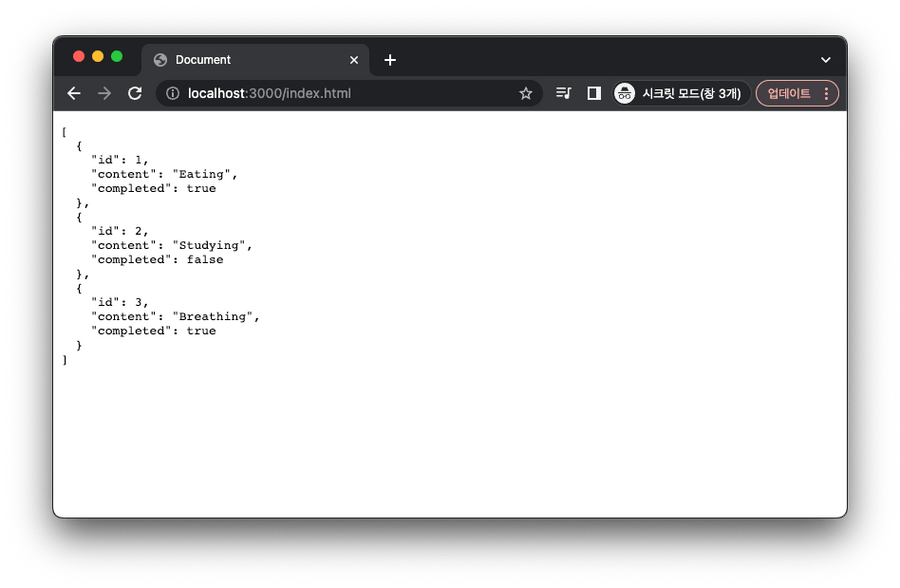
할 일 목록(todos)에서 모든 데이터(todo)를 GET으로 조회해 보자. public 폴더를 생성하고 html 파일과 js 파일에 아래와 같이 작성해 준다.
// index.html
<!DOCTYPE html>
<html lang="en">
  <!-- 생략 -->
  <body>
    <pre></pre>
    <script src="./index.js"></script>
  </body>
</html>
// index.js
const xhr = new XMLHttpRequest(); // XMLHttpRequest 객체 생성
xhr.open('GET', '/todos'); // 모든 데이터 조회
xhr.send(); // 요청 전송
xhr.onload = () => {
  if (xhr.status === 200) {
    // status 값이 200이면 정상 응답 상태
    document.querySelector('pre').textContent = xhr.response;
  } else {
    console.error('Error', xhr.status, xhr.statusText);
  }
};
그리고 터미널에서 json-server를 실행 후, http://localhost:3000/{html 파일명}로 접속하면 todos의 모든 데이터가 조회된 것을 확인할 수 있다.
$ json-server db.json
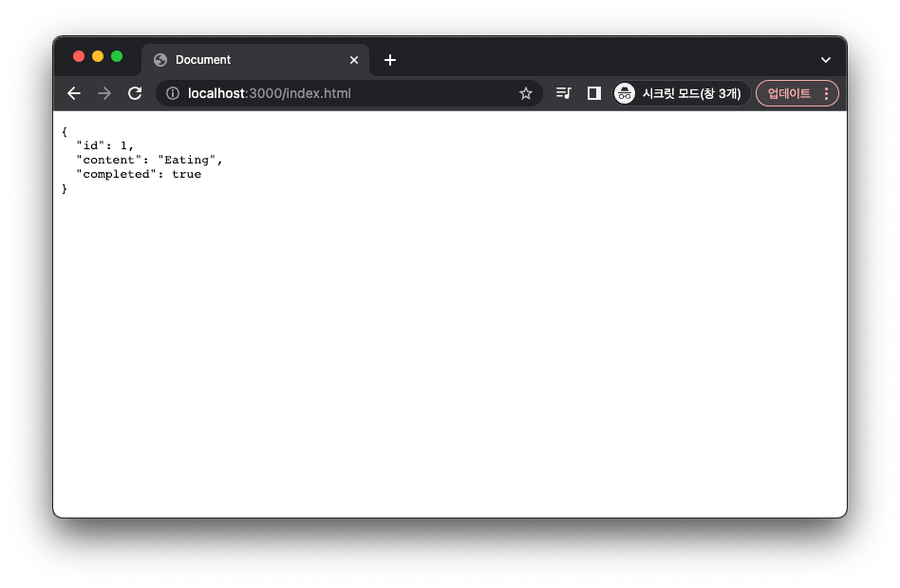
id를 사용해 특정 데이터만 조회할 수도 있다.
const xhr = new XMLHttpRequest();
xhr.open('GET', '/todos/1'); // id 1인 데이터 조회
xhr.send();
xhr.onload = () => {
  if (xhr.status === 200) {
    document.querySelector('pre').textContent = xhr.response;
  } else {
    console.error('Error', xhr.status, xhr.statusText);
  }
};
POST
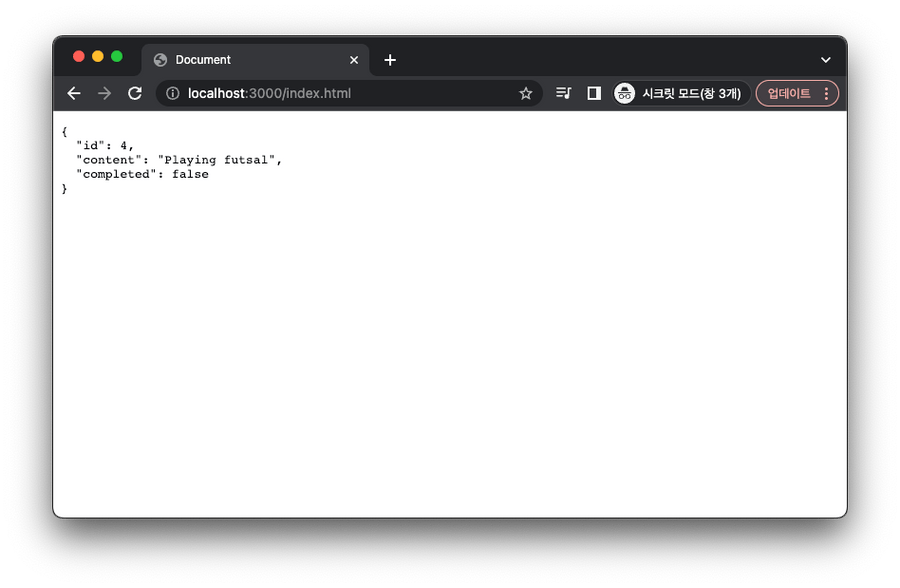
이번에는 새 할 일을 추가해 보자. POST 메서드로 데이터를 생성할 수 있다.
const xhr = new XMLHttpRequest();
xhr.open('POST', '/todos');
xhr.setRequestHeader('content-type', 'application/json'); // 서버로 전송할 페이로드 MIME 타입 지정
xhr.send(
  JSON.stringify({ id: 4, content: 'Playing futsal', completed: false }),
); // 페이로드 전송
xhr.onload = () => {
  if (xhr.status === 200 || xhr.status === 201) {
    document.querySelector('pre').textContent = xhr.response;
  } else {
    console.error('Error', xhr.status, xhr.statusText);
  }
};
추가한 새 할 일의 정보를 확인할 수 있다.
PUT, PATCH
PUT과 PATCH 메서드를 사용하면 특정 리소스를 수정할 수 있다. 앞 과정을 모두 진행했다면 현재 todos에는 id 4까지의 todo가 저장되어 있을 것이다.
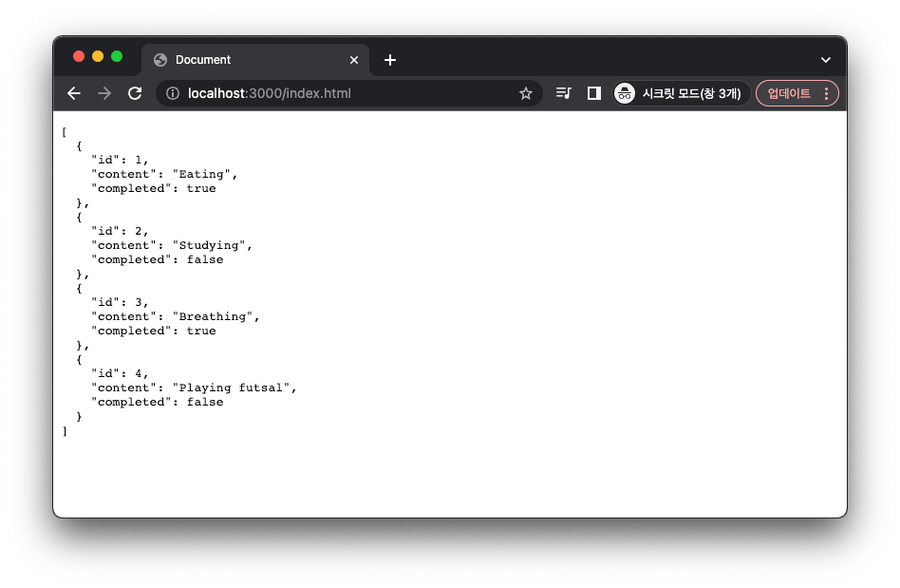
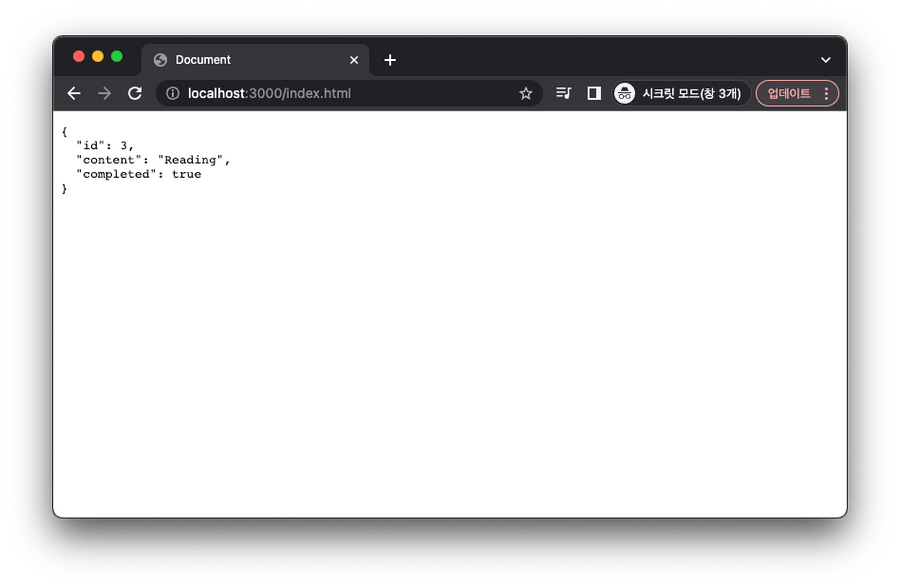
여기서 id 3의 내용을 전부 수정하고 싶다. PUT을 사용해 보자.
const xhr = new XMLHttpRequest();
xhr.open('PUT', '/todos/3'); // 수정할 리소스
xhr.setRequestHeader('content-type', 'application/json');
xhr.send(JSON.stringify({ id: 3, content: 'Reading', completed: true })); // 수정할 내용
xhr.onload = () => {
  if (xhr.status === 200) {
    document.querySelector('pre').textContent = xhr.response;
  } else {
    console.error('Error', xhr.status, xhr.statusText);
  }
};
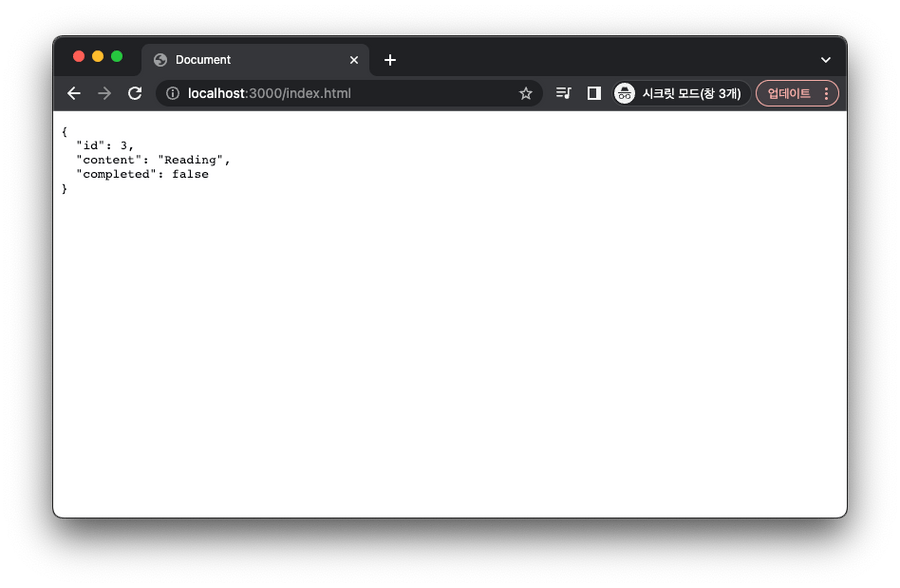
전체가 아닌 일부만 수정하고 싶다면 PATCH를 사용하면 된다. id 3의 completed를 true에서 false로 변경하자.
const xhr = new XMLHttpRequest();
xhr.open('PATCH', '/todos/3');
xhr.setRequestHeader('content-type', 'application/json');
xhr.send(JSON.stringify({ completed: false }));
xhr.onload = () => {
  if (xhr.status === 200) {
    document.querySelector('pre').textContent = xhr.response;
  } else {
    console.error('Error', xhr.status, xhr.statusText);
  }
};
DELETE
마지막으로 DELETE 메서드로 데이터를 삭제해 보자.
const xhr = new XMLHttpRequest();
xhr.open('DELETE', '/todos/3'); // id 3인 데이터 삭제
xhr.send();
xhr.onload = () => {
  if (xhr.status === 200) {
    document.querySelector('pre').textContent = xhr.response;
  } else {
    console.error('Error', xhr.status, xhr.statusText);
  }
};
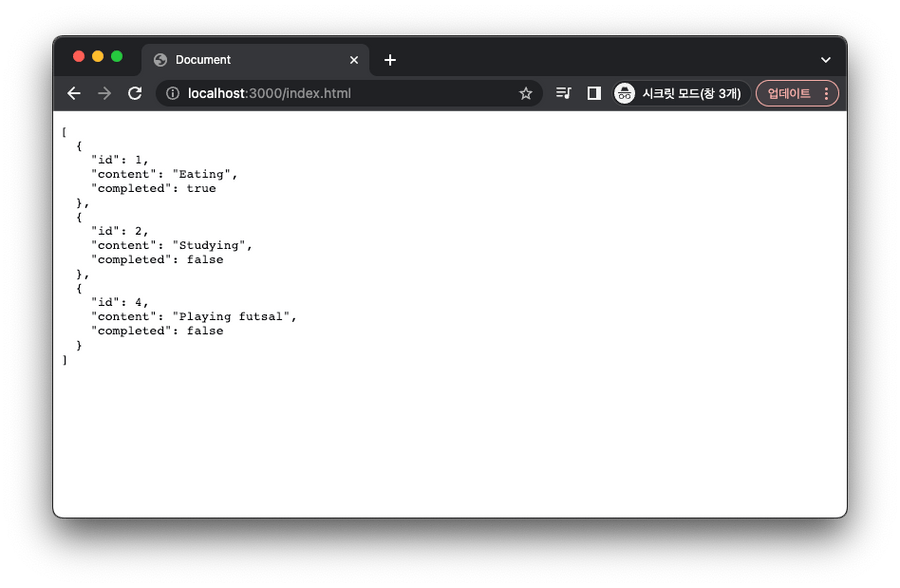
전체 todos를 조회해 보니 id 3의 정보가 정상적으로 삭제되었다.
References
[book] 모던 자바스크립트 Deep Dive
